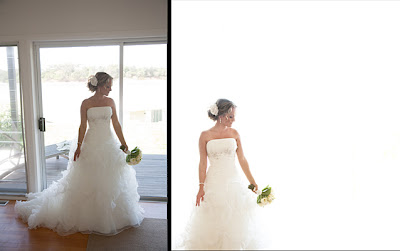
I had heaps of feedback after my Before & After post a couple of months ago. so here due to popular demand is part 2 of Photoshop Before & After’s.
This time with some heavy handed retouching.

Start with something simple – darken, add some glow and desaturated colours.
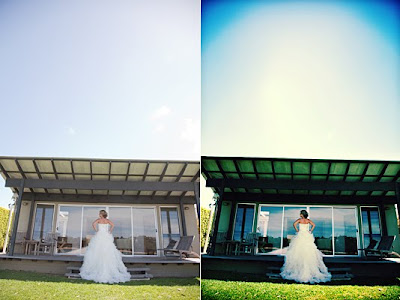
Stretch the background a little to give a little more room. Take out the window frame, then go crazy with the colour and dark edges. Sometimes the “theme” of the photo works well with heave handed retouching.
I had this image in mind when I saw the glass window panes. The light on the bride is from us shining the video light through the glass. Retouching was limited to simply darkening the edges and adding some desaturated glow.
Another shot I took with the end result in mind. Photoshoping was a simple process of converting to black and white and adding a touch of sepia.
I do shots similar to this quite often. Once again it’s taken with the end result in mind. Shoot the bride against a bright background, paint over everything else in white and your left with a fantastically simple image. A photo like this may take up to an hour of photo-shopping on the computer before it’s ready.
Similar to photo #2 above, the biggest trick used here is on the sky. the deep blue on the left is flipped and mirrored on the right to balance the photo.


